yii framework(易框架)搭建
稻草人
2月 15, 2017
近期公司有项目需要易框架来写php,遂先简单写个该框架的搭建教程.
安装xampp
https://www.apachefriends.org/download.html
下载对应php版本的xampp.
win10的C盘权限管控略严,所以建议安装在其它盘的根目录(如D:\xampp),安装过程略过.
安装易框架
http://www.yiiframework.com/download/
Ctrl+F搜索Install from an Archive File
点击第二个Yii 2 with advanced application template进行下载
下载完成后以管理员权限启动winrar对下好的tgz解压,解压到D:\xampp\htdocs下
目录结构见下图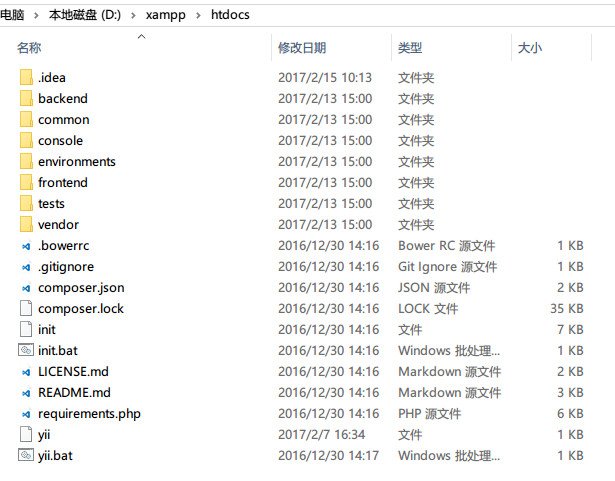
将php加入环境变量
D:\xampp\php\
初始化
返回D:\xampp\目录,按住shift鼠标定位到htdocs右键,再按w,将出现如下窗口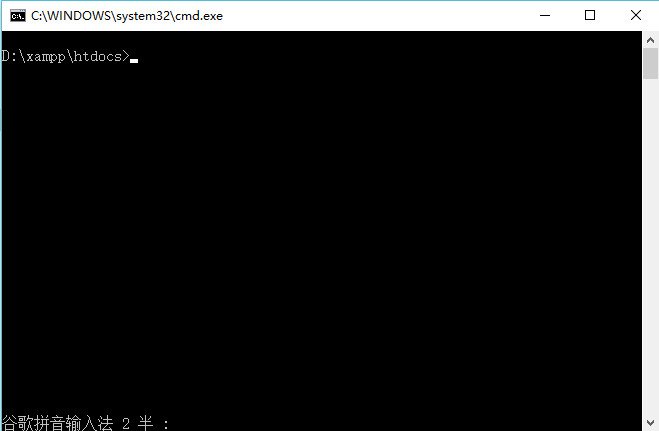
输入init.bat,并按下图输入指令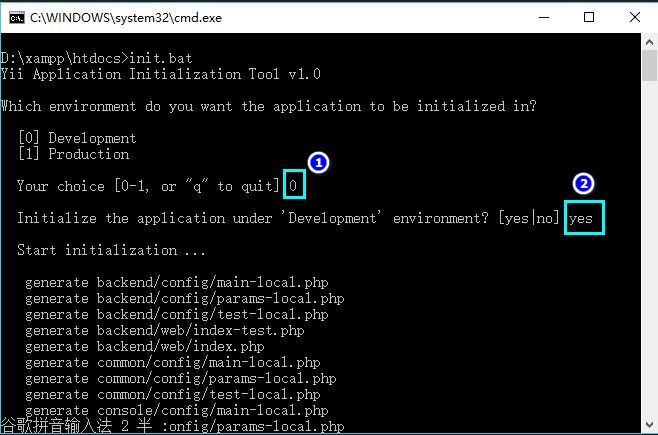
修改apache配置文件
打开D:\xampp\apache\conf\extra\httpd-vhosts.conf,末尾处添加如下一段并保存
<VirtualHost *:80>
       ServerName frontend.dev
       DocumentRoot "D:/xampp/htdocs/frontend/web/"

       <Directory "D:/xampp/htdocs/frontend/web/">
           # use mod_rewrite for pretty URL support
           RewriteEngine on
           # If a directory or a file exists, use the request directly
           RewriteCond %{REQUEST_FILENAME} !-f
           RewriteCond %{REQUEST_FILENAME} !-d
           # Otherwise forward the request to index.php
           RewriteRule . index.php

           # use index.php as index file
           DirectoryIndex index.php

           # ...other settings...
           # Apache 2.4
           Require all granted

           ## Apache 2.2
           # Order allow,deny
           # Allow from all
       </Directory>
   </VirtualHost>

   <VirtualHost *:80>
       ServerName backend.dev
       DocumentRoot "D:/xampp/htdocs/backend/web/"

       <Directory "D:/xampp/htdocs/backend/web/">
           # use mod_rewrite for pretty URL support
           RewriteEngine on
           # If a directory or a file exists, use the request directly
           RewriteCond %{REQUEST_FILENAME} !-f
           RewriteCond %{REQUEST_FILENAME} !-d
           # Otherwise forward the request to index.php
           RewriteRule . index.php

           # use index.php as index file
           DirectoryIndex index.php

           # ...other settings...
           # Apache 2.4
           Require all granted

           ## Apache 2.2
           # Order allow,deny
           # Allow from all
       </Directory>
   </VirtualHost>
添加hosts
打开C:\Windows\System32\drivers\etc,将下列两行添加至末尾并保存
127.0.0.1   frontend.dev
127.0.0.1   backend.dev
启动apache
打开xampp control panel,点击Apache后的Start,如下图所示,即表示启动成功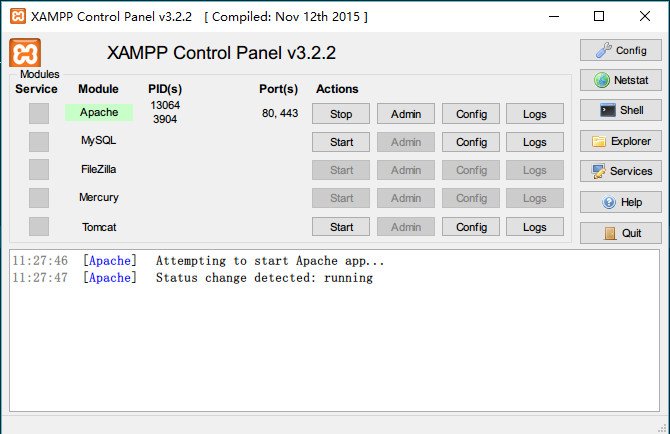
如出现错误请根据提示进行操作,再重启apache(如skype会占用80,443端口,在skype中设置即可)
验证yii framework是否安装成功
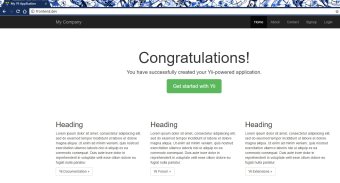
至此,易框架搭建成功!!!